Showing posts with label Spring. Show all posts

Tuesday, April 5, 2011

Spring Camping

We are gearing up for our annual Moab trip.

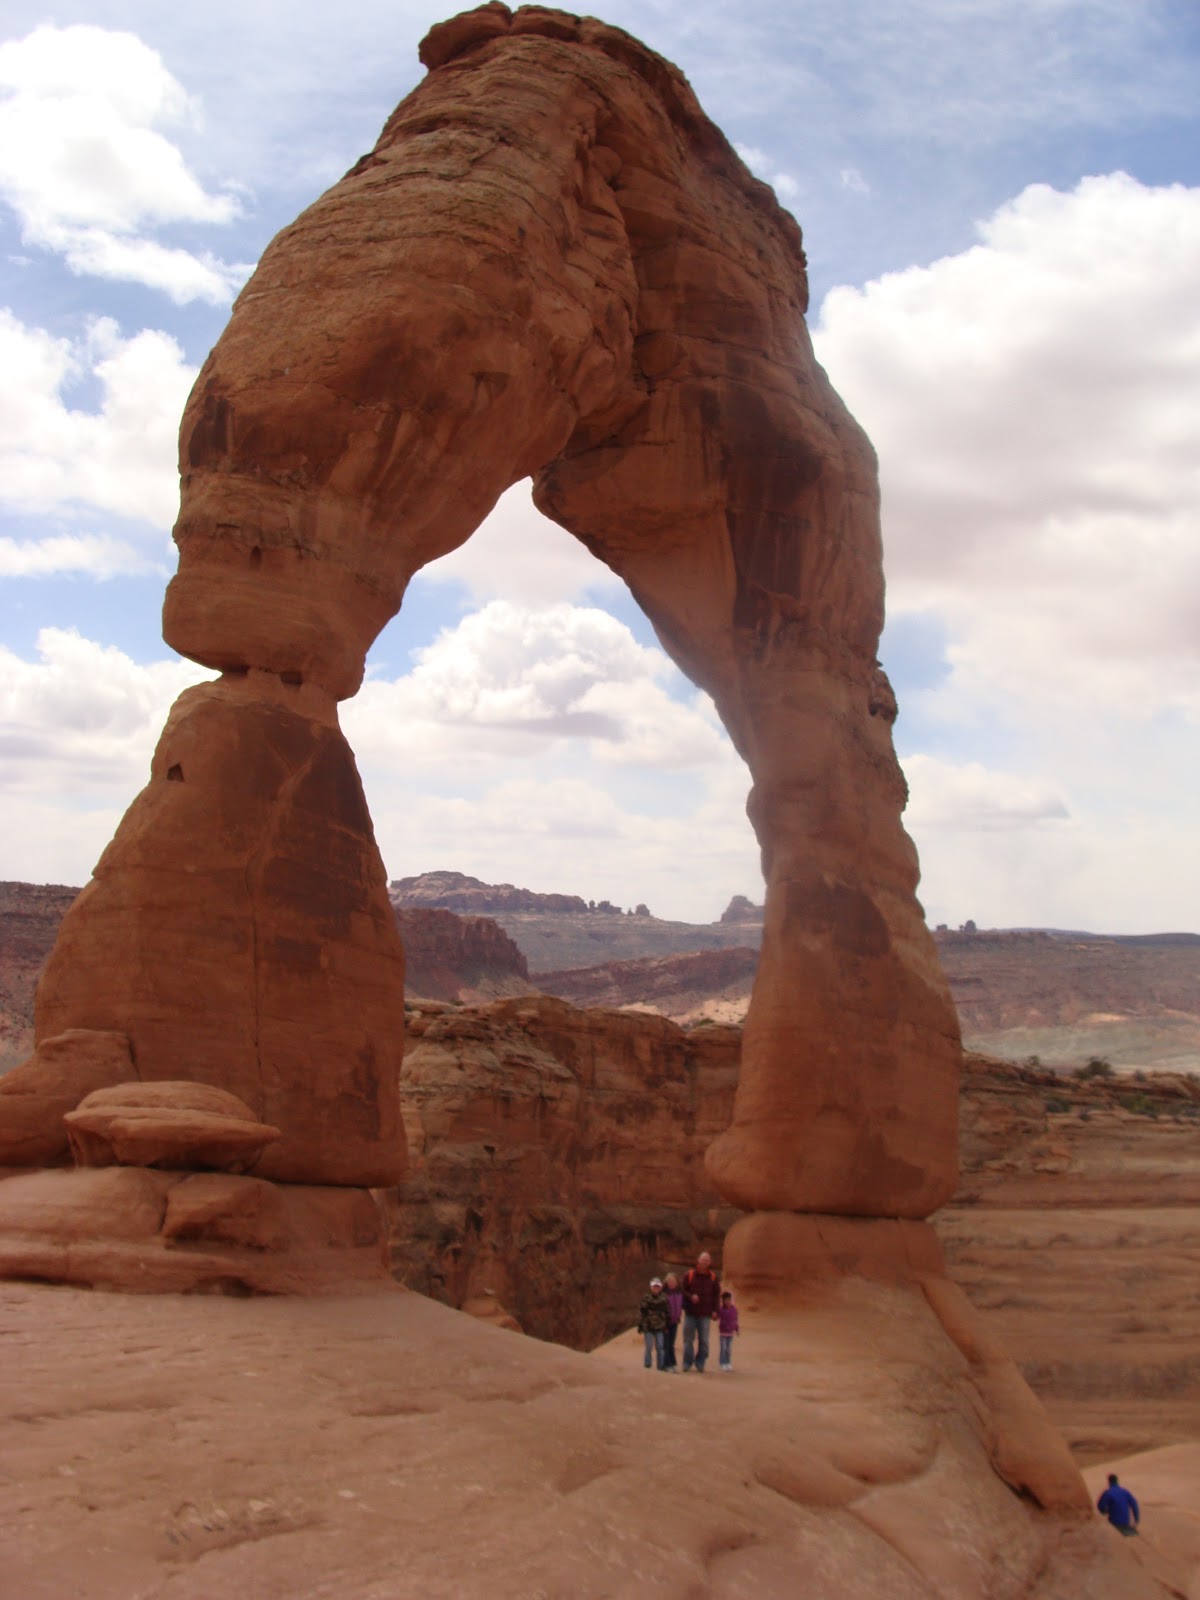
And Springtime in Moab is like life: You never know what you are going to get.  See the pic above?  That was day one.


This (above) is day 6.

We went from winter coats and gloves and snow hats to shorts and sun hats.

It becomes tricky to know how to pack. 

Even trickier is keeping those munchkins warm at night.  Cause no matter what the daytime temps are, its always cold at night.

Start off by changing EVERYTHING before bed.  The sweat that accumulates throughout the day turns chilly at night.  Change undies and socks.

Then rock out with your warmest snow hat.  That is #1 important. 
(Do you see those lilly white legs? Yup, Spring time at its best)

Next I love to put the kids and hubby and everyone into those fuzzy spa socks.  They are warmer than wool.  They feel warm the instant you slip 'em on.  (See them peeking out of D's sandals?  Warm feet=happy sleep)

A good hoodie or fleece jacket is nice on extra cold nights.

Now, if you are worried about your sleeping bags, a quick and cheaper alternative to buying several bags for different seasons is to add a fleece liner. You can see their bright colors in J and L's sleeping bags. (And don't you LOVE the bunk bed cots?)  The kids love them and they make sleeping extra cozy.


So, go out there, brave the changing weather report and enjoy spring time camping.  Those happy faces will make it worth the effort.

Wednesday, March 16, 2011

Mini Cheese Cakes in a Jiffy


These bite size cheese cakes are some of my favorite treats, but because of their dairy content I don't make them often.  I took them to a party and they were gone before we started dinner.
They are perfect for Spring.


You will need:
  • 1 box mini Nilla Wafers
  • 1 package cream cheese (at room temp.)
  • 1 tub Cool Whip (thawed)
  • 1/3 cup sugar
  • 1 package mini baking cups

In 2 9x13s set out your baking cups and put one wafer in each cup.

Beat together cream cheese and sugar until fluffy. (I love the word fluffy.)
Add in 2 1/4 cups of Whip Cream.  Beat until mixed.

OK, tricky homemaker here.
I could not find my decorator bag, so I used a Ziploc bag with the decorating tip inside.  If you don't have a decorator tip (buy one they are fabulous) you can use just a Ziploc with a corner cut off.  The freezer bags are sturdier.  Folding down the edges of your bag will make it a bit less messy.  But you may still get covered in yummy goodness.

 Fill your bag.


And fill those cups.  Just a dollop (another lovely word).  These are bite size.  They can be popped in the mouth.  Keep that in mind as you fill.

Pan Number One.


Pan Number 2!


Cover well.


Pop 'em in the fridge.  Let them cool for a few hours.

You may have some filling left.  It is SOOO good as a dip.  Also, there are ways to make this healthier--use lite Cool Whip, lite Cream Cheese, and there may even be lite Nilla wafers.  Also, you could add food coloring to the mix and make them OH SO festive.
I got the original recipe here.  But I like it better on the mini wafers and the extra cool whip was just extra work and I'm not a huge lover of coconut.

Let me know if you try them.